If you need to create surveys or polls for your business or organization, you might be interested in using the less popular Office 365 Forms and Power Automate. These tools allow you to easily design and share forms, and then automate the actions based on the responses with no code solution.
Welcome, I will show you how to create a simple survey using Office 365 Forms, and then use Power Automate to send an email notification when a new response is submitted.
Step 1: Create a survey using Office 365 Forms
Office 365 Forms is a web-based application that lets you create forms with various types of questions, such as multiple choice, text, rating, date, file upload, and more. You can also customize the appearance of your form with themes and images.
To create a survey using Office 365 Forms, follow these steps:
- First, Go to https://forms.office.com/ and sign in with your Office 365 account.
- Click on New Form to start a blank form, or New Quiz to start a quiz with scoring.
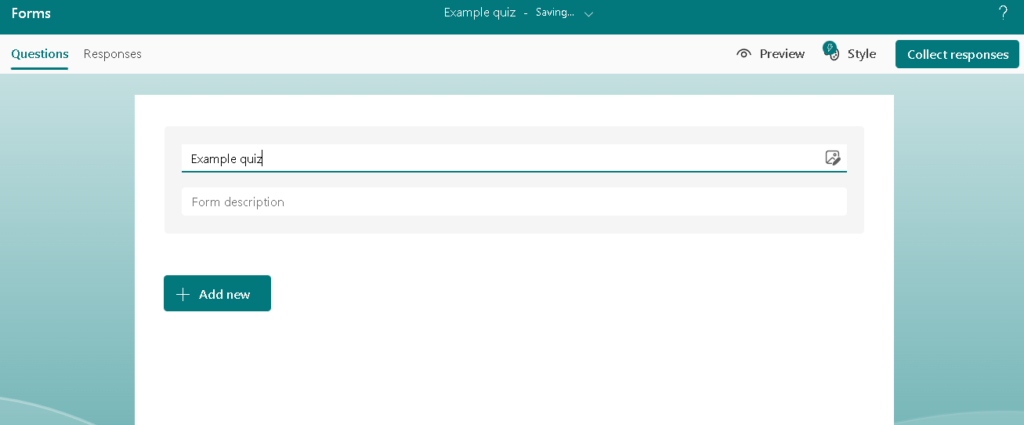
- Give your form a title and a description.
- Add questions by clicking on the + button at the bottom of the form. You can choose from different question types and options.
- To preview your form, click on the Preview button at the top right corner of the screen. You can switch between desktop and mobile views.
- To share your form, click on the Share button at the top right corner of the screen. You can choose from different sharing options, such as sending a link, embedding the form on a web page, or sending an email invitation.
Step 2: Create a flow using Power Automate
Power Automate is a cloud-based service that lets office users create workflows that automated tasks across different applications and services. You can use Power Automate to connect your Office 365 Forms with other Office 365 apps, such as Outlook, SharePoint, Excel, Teams, and more.
To create a flow using Power Automate that sends an email notification when a new response is submitted to your survey, follow these steps:
- Go to https://flow.microsoft.com/ and sign in with your Office 365 account.
- Click on Create from the left menu, and then select Automated Flow.
- Give your flow a name, and then search for Microsoft Forms in the Choose your flow’s trigger box. Select When a new response is submitted from the list of triggers, and then click on Create.
- In the When a new response is submitted step, select your form from the Form Id dropdown list.
- Click on New Step, and then search for Microsoft Forms in the Choose an action box. Select Get response details from the list of actions.
- In the Get response details step, select your form from the Form Id dropdown list, and then select List of response notifications Response Id from the Response Id dropdown list.
- Click on New Step, and then search for Outlook in the Choose an action box. Select Send an email (V2) from the list of actions.
- In the Send an email (V2) step, enter the recipients, subject, and body of the email. You can use dynamic content from the previous steps to include details from the form response in your email.
- To save your flow, click on Save from the top menu bar.
Now you have created a survey using Office 365 Forms and a flow using Power Automate that sends an email notification when a new response is submitted. You can test your flow by filling out your survey and checking your inbox for the email.
You can also modify your flow to add more actions or conditions based on your needs. For example, you can use Power Automate to add form responses to an Excel worksheet, send an approval request with the form details, get an attachment from a form and send it in an email, and more.
To learn more about Office 365 Forms and Power Automate, check out these resources:
- Microsoft Forms documentation: https://support.microsoft.com/en-us/forms
- Power Automate documentation: https://docs.microsoft.com/en-us/power-automate/